Start a chat
Open a new chat, pick an agent and a model, choose where the agent works, and send your first prompt. Or start a quick chat with no project.
Every chat starts empty. You type what you want, check which agent does the work, and send. The agent then starts on your request in the same tab.
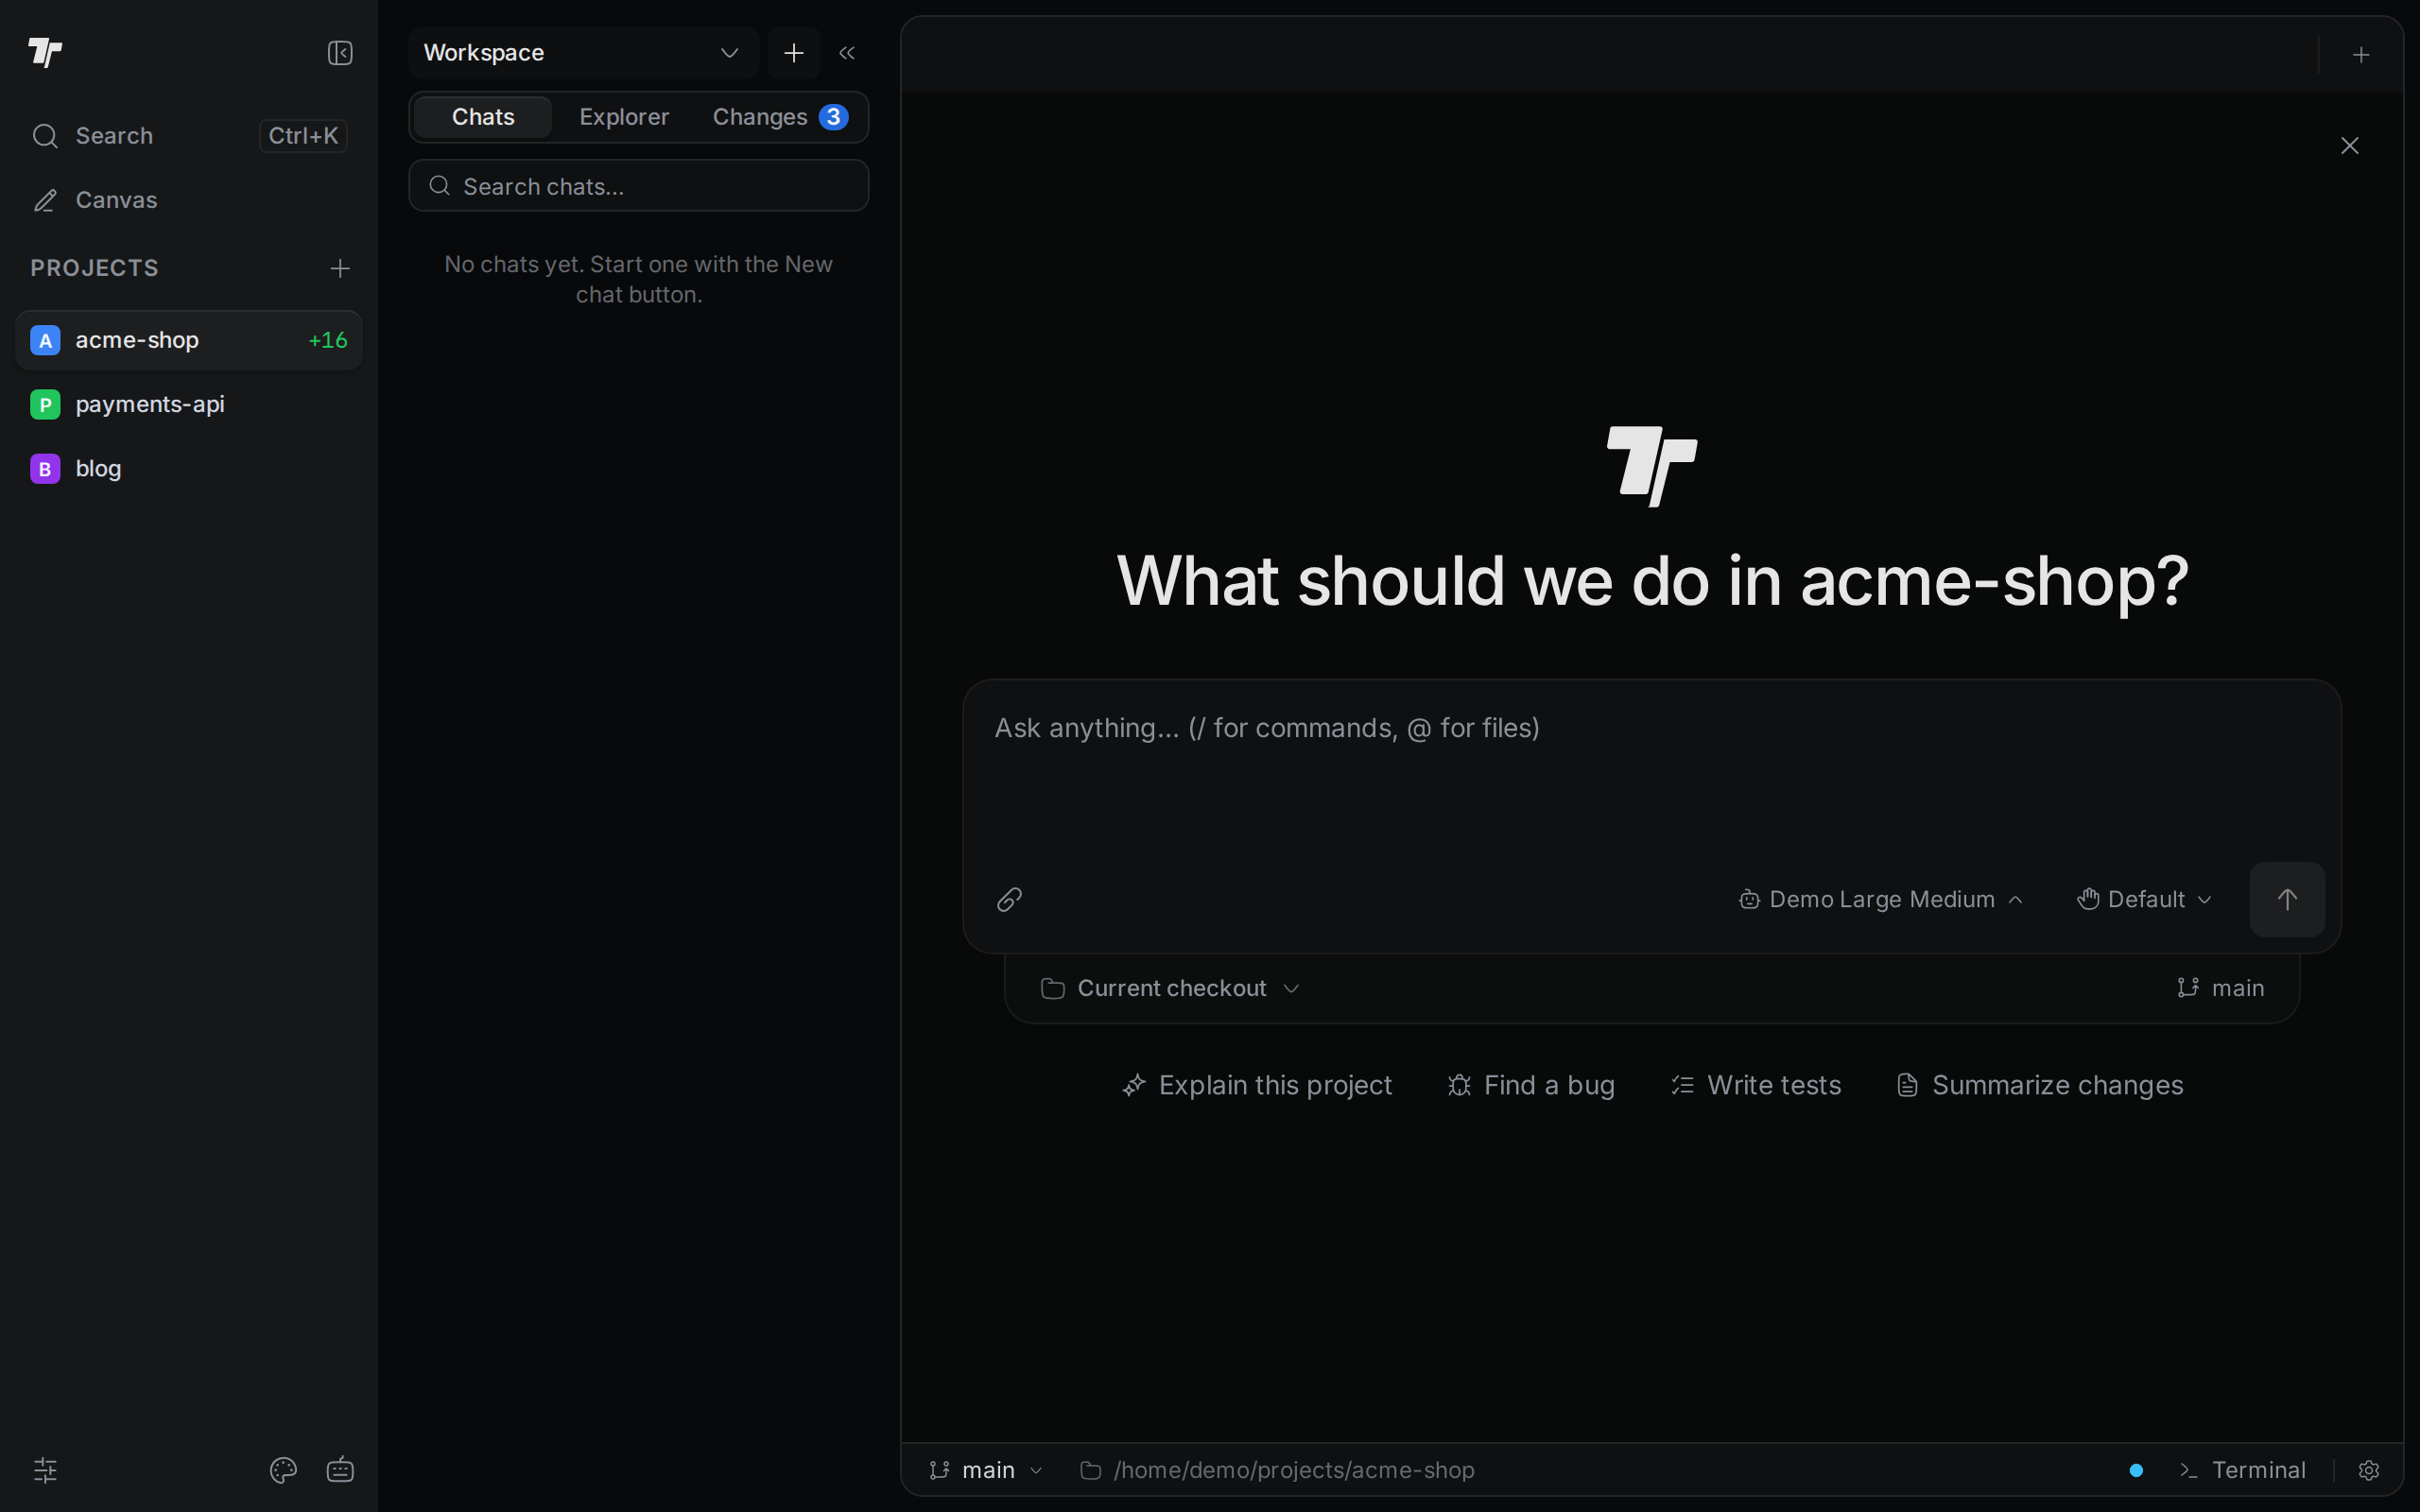
The picture shows an earlier version. A new chat now has no starter prompts under the box.
Open a new chat
Use any of these:
- Press
Ctrl+T(Cmd+Ton macOS). In a browser tab, the default key isAlt+T, because the browser keepsCtrl+Tfor itself. - Click New chat at the top of the sidebar.
- Click the + at the end of a project's row in the sidebar (New chat in project). The chat opens in that project.
- Open the command palette with
Ctrl+K(Cmd+Kon macOS) and choose New chat. The palette also has Launch Agent. That item opens an agent's own text interface in a terminal instead of a chat.
A new chat opens as a tab in the active pane. It uses the agent you used last, with the model and options you picked for it. The middle of the tab asks "What should we do in project?" above the message box. When you send your first message, the message box moves to the bottom of the tab. If the pane already shows an empty chat of the project, Troupe goes to that chat instead of opening another one.
If you type before the agent is ready, your text waits in the box. A message you send waits in the queue until the agent is ready.
When the agent launcher opens instead
Troupe opens the agent launcher instead of an empty chat when no agent is ready to start, or when the agent needs you to sign in first. The launcher looks like an empty chat and also has the message box. A pane with no tabs shows the launcher too. Close the launcher with Esc, with Ctrl+T again, or with Close agent launcher (the X in the corner).
If you close the launcher by accident, your text is not lost. Troupe keeps the unsent draft for each project and puts it back the next time you open the launcher.
Send your first prompt
Type what you want the agent to do. For example, "Add a discount option to the cart total".
Check the agent and the model. The model button, to the left of the send arrow, shows the current model. When the agent has effort levels, the level follows the model name. To change them, see Pick an agent and a model.
Press Enter, or click the arrow button.
The agent starts working in the same tab. Troupe remembers the agent and the options you chose. The next chat starts with the same picks.
Pick an agent and a model
Click the model button in the message box. A panel opens with three parts:
- A search box. Type part of a model or agent name to filter the list.
- A row of tabs, one per agent. The tab with ... (More agents) lists the rest.
- The models of the selected agent. Under them, a row of effort levels and the fast mode button, when the agent has them.
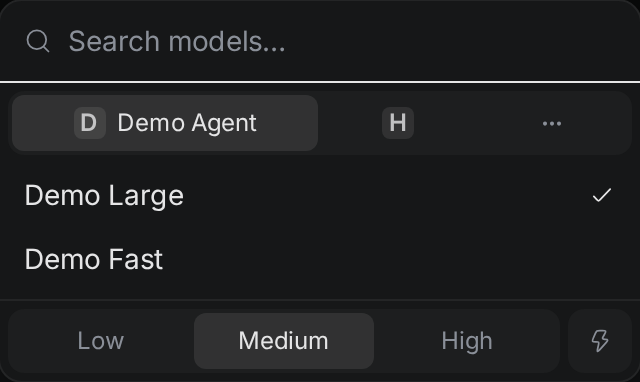
Click an agent tab, then click a model. In a chat with no messages yet, a model of another agent moves the chat to that agent at once. See Switch an empty chat. If the agent is not ready, the panel says so instead of listing models. For example, it says the agent is not installed and offers an Install button. In the More agents list and in search results, an agent that is not ready shows a badge, such as Install, Needs Node, Needs uv, Manual install, or Unavailable. To get an agent ready, see Set up agents.
Some agents have no model choice. Their tab shows "This agent gives no model choice."
Choose where the agent works
The row under the message box decides which folder the agent works in. In a git project, click the first item in that row to choose:
- Current checkout. The agent edits your project folder directly, on the branch shown on the right.
- Existing worktree. The agent works in a worktree you already have. Pick it in the list that appears. If the project has no worktrees, this option is off and shows "No worktrees yet".
- New worktree. Troupe creates a new worktree for this chat before the agent starts. Pick the branch to start from in the Base branch list.
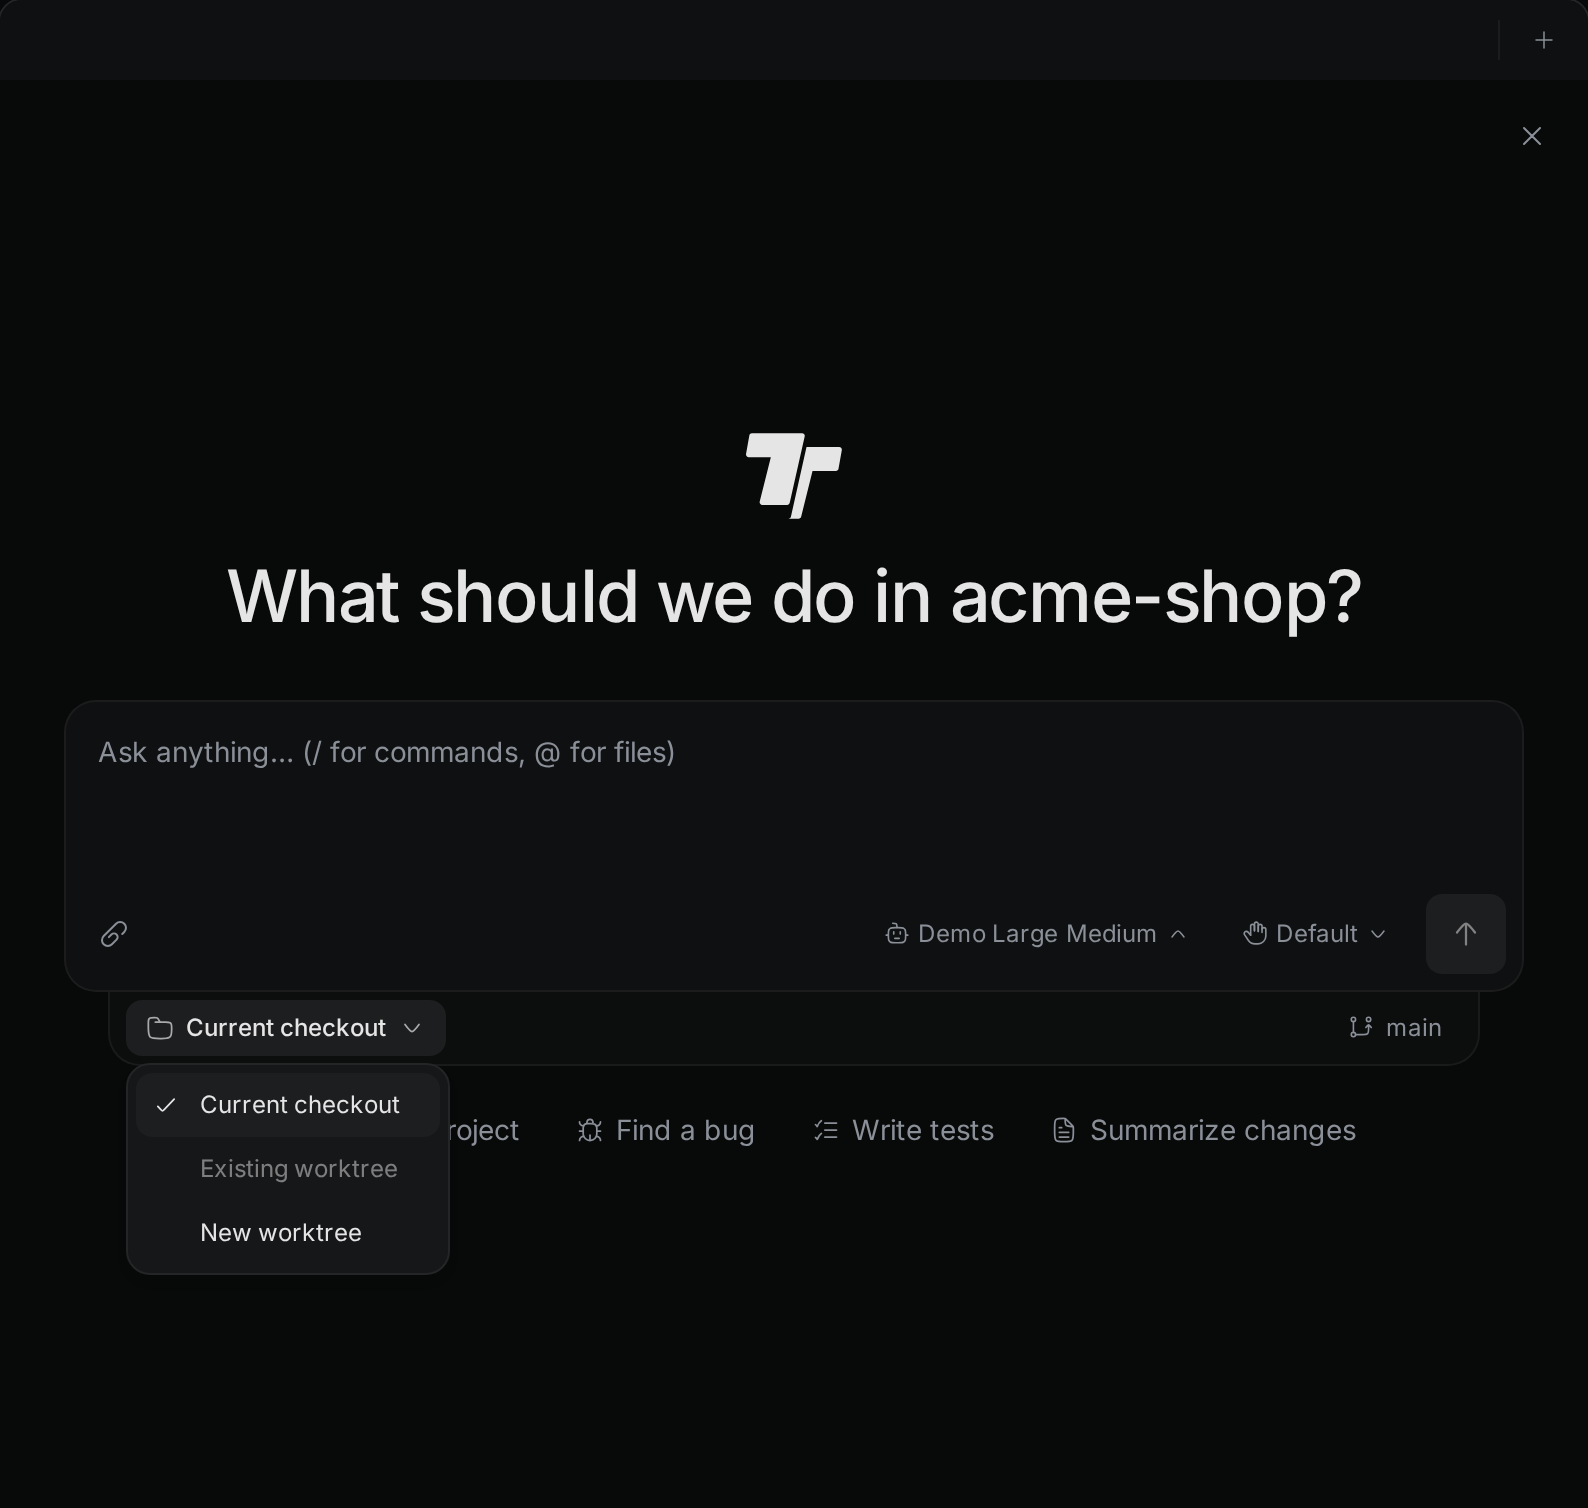
Your choice applies when you send the first message. A worktree is a second folder for the same git repository, with its own branch. When a chat runs in its own worktree, the agent's edits stay out of the folder you work in. You can run several chats side by side without them changing the same files. Troupe names the new branch chat/ followed by a short id. If Troupe cannot create the worktree, it shows an error, and the chat and your text stay as they were.
After the first message, the row shows where the chat works and cannot be changed: Current checkout or the worktree's folder name, followed by the branch, for example Current checkout · main.
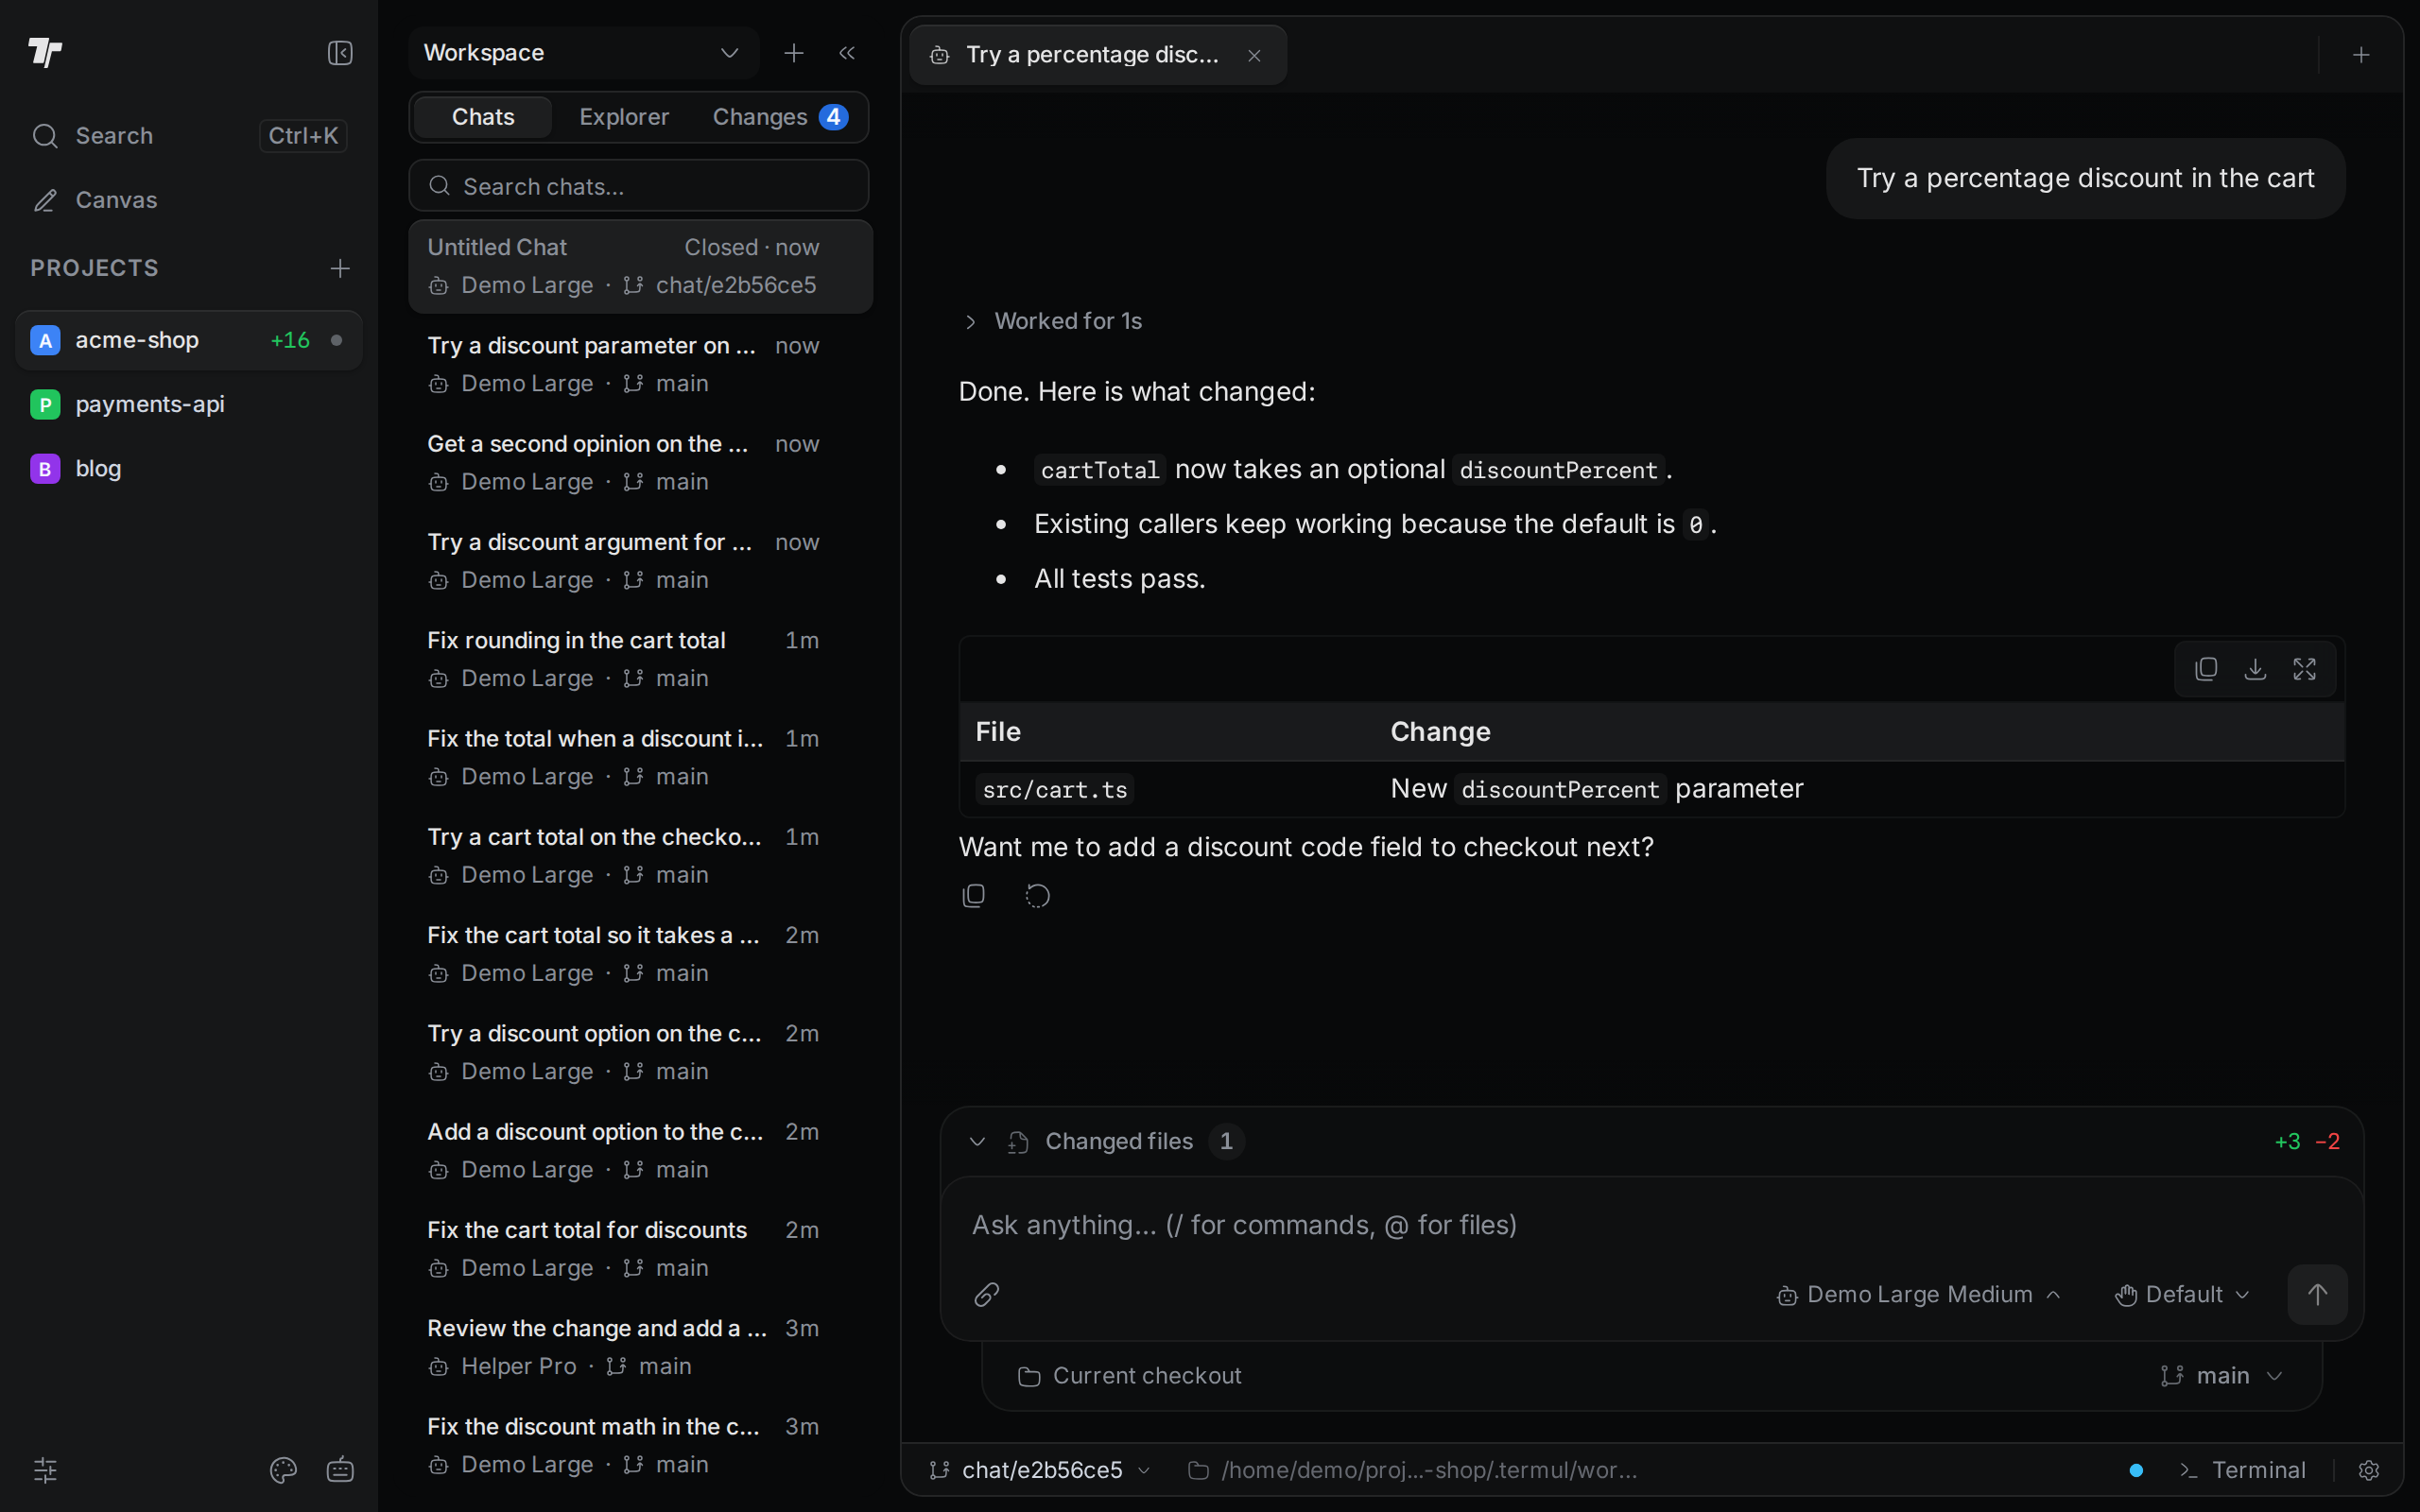
The picture above shows an earlier layout, with the chat list in a side panel.
To merge, switch, or remove worktrees, see Worktrees.
A project that is not a git repository has no such row. The agent always works in the project folder.
When you use Troupe in a browser and the server does not accept changes from remote clients, New worktree is off and shows "This server is read-only for remote clients." In a browser, Existing worktree is also off when every worktree is outside the project folder. It then shows "Outside the project folder; open it on the desktop app."
Start a quick chat
A quick chat is a chat with no project. Use it for a question that is not about any of your projects. Troupe makes an empty folder for each quick chat, in .troupe/quick-chats in your home folder on the computer that runs Troupe, and the agent works there.
To start one, use any of these:
- In the sidebar, click the + next to Quick chats (New quick chat). The Quick chats section sits under your projects. It shows even before you have a quick chat.
- Open the command palette and choose New quick chat.
- On a phone, open the menu and tap the + next to the quick chats heading (New quick chat).
- When no project is open, New chat starts a quick chat.
A quick chat starts on the agent you used last, the same as a new chat in a project. It opens on its own, in place of your project's tabs. Open a project chat or a project tab to go back. The Quick chats section lists your quick chats, newest first: the first five, then Show N more.
A quick chat has no project, so it has no terminals, Git, file explorer, snapshots, canvas, or automations. While it is open, the Explorer, Changes, and GitHub buttons at the right edge are hidden. A quick chat cannot open in a split pane.
Right-click a quick chat in the sidebar, or click its … button, for its menu. Rename changes its title. Delete chat deletes the chat and its folder, with any files the agent made there. Troupe asks you to confirm first.
Older chats
Chats that an older version of Troupe kept without a project are listed under Older chats at the bottom of the sidebar. Click Older chats to open the list. You can read these chats, but not continue them. Delete chat removes the chat but keeps the files in its folder.